How to Paste Wall Sticker Design: A Step-by-Step Guide
Wall stickers have become increasingly popular as a trendy and convenient way to decorate homes and add a personal touch to living spaces. If you've been wanting to try out this popular design trend and are wondering how to get started, you've come to the right place. In this comprehensive step-by-step guide, we will walk you through the process of pasting wall sticker designs and give you valuable tips along the way. By following these instructions, you'll be able to transform any bare wall into a stunning work of art.
Understanding Wall Sticker Design
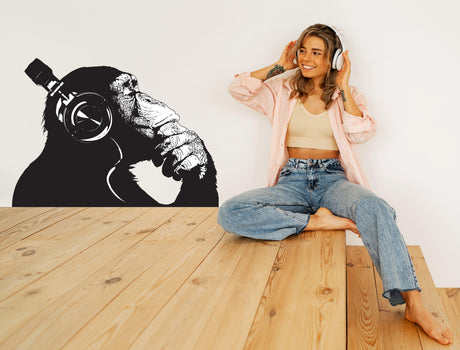
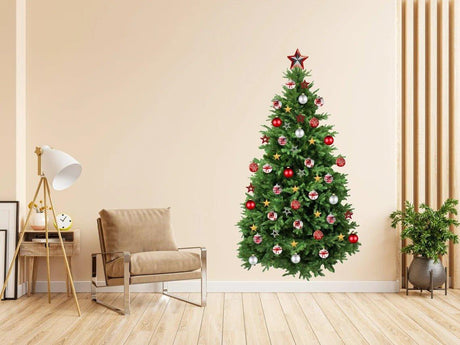
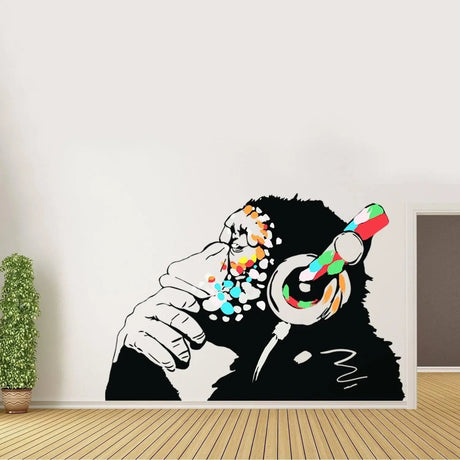
Before we dive into the practical steps of applying wall stickers, it's essential to have a basic understanding of what they are and the different types available. Wall stickers, also known as wall decals or wall tattoos, are adhesive decorations that can be applied directly to walls or other smooth surfaces. They come in various designs, patterns, and sizes, allowing you to personalize your space according to your taste. Whether you prefer nature-inspired motifs, inspirational quotes, or playful shapes, there is a wall sticker design for everyone.
The Basics of Wall Sticker Design
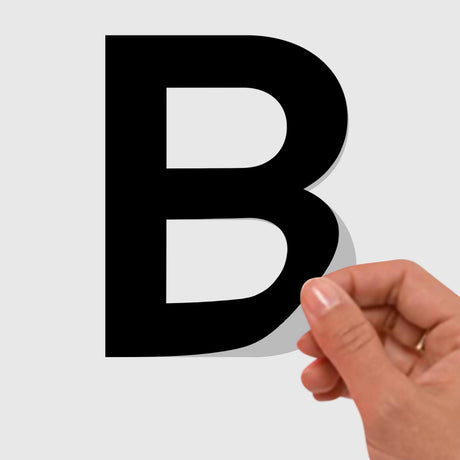
Wall stickers are made from thin vinyl material that is both durable and flexible. They have a self-adhesive backing that allows them to stick to surfaces without any additional help. Most wall stickers are removable, which means you can easily reposition or remove them without leaving any residue on the wall. This feature makes them perfect for renters or anyone who enjoys changing up their interior décor frequently.
When it comes to the design of wall stickers, there are a few key factors to consider. Firstly, the size of the sticker should be chosen based on the available space and the desired visual impact. A large wall sticker can serve as a focal point in a room, while smaller stickers can be used to create a pattern or add subtle details. Additionally, the color of the sticker should complement the existing color scheme of the room. Harmonious color combinations can enhance the overall aesthetic appeal of the space.
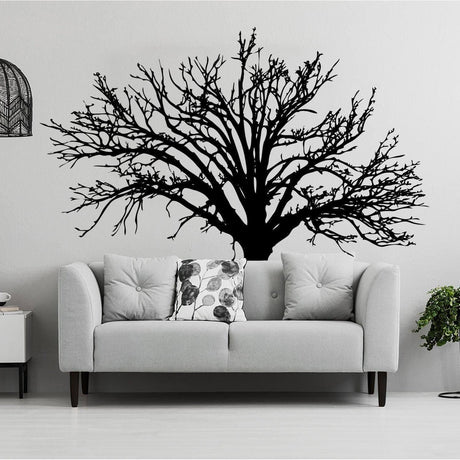
Furthermore, the design of the wall sticker should align with the intended atmosphere or theme of the room. For example, if you want to create a calming and serene environment in a bedroom, you might opt for a wall sticker featuring nature-inspired elements such as trees or flowers. On the other hand, if you want to add a playful touch to a child's room, you could choose stickers with cartoon characters or whimsical shapes.
Different Types of Wall Stickers
When it comes to wall stickers, the options are virtually endless. You can find wall stickers in various themes, including floral designs, geometric patterns, animals, and even custom-made options. Some wall stickers are designed specifically for children's rooms and feature popular cartoon characters or educational elements. Others are more sophisticated and can add a touch of elegance to any room. Before choosing a design, consider the overall style of your space and select a sticker that complements it.
In addition to the design, there are different types of wall stickers based on their application method. Some wall stickers are peel-and-stick, meaning you can simply remove the backing and adhere them to the wall. Others may require water or heat to activate the adhesive. These types of stickers often come with detailed instructions to ensure proper application.
Moreover, wall stickers can also vary in terms of their finish. Some stickers have a matte finish, which gives them a subtle and understated look. Others have a glossy finish, creating a more vibrant and eye-catching effect. The choice of finish depends on personal preference and the desired visual impact.
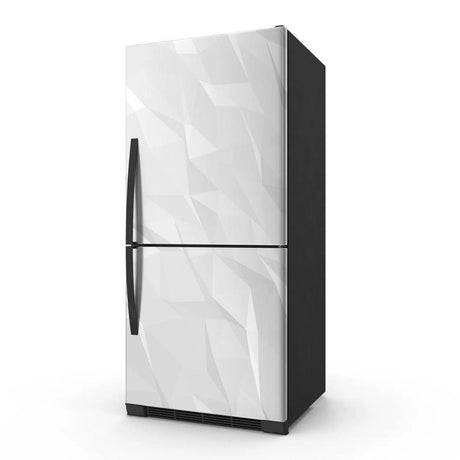
Lastly, it's worth mentioning that wall stickers are not limited to walls. They can be applied to various smooth surfaces such as glass, mirrors, furniture, and even appliances. This versatility allows you to explore different creative possibilities and transform multiple areas of your home.
Preparing Your Wall for Sticker Design
Before you can start pasting your wall sticker, it's crucial to ensure that your wall is clean and suitable for the application. Taking this step will help the sticker adhere better and last longer. Here's what you need to do:
When it comes to decorating your living space, wall stickers can add a touch of creativity and personality. However, to ensure that your wall sticker stays in place and looks its best, it's essential to prepare your wall properly before applying it. By following a few simple steps, you can ensure a smooth and successful application.
Cleaning Your Wall
Begin by cleaning the wall thoroughly to remove any dust, grease, or other debris that might interfere with the sticker's adhesion. A dirty surface can prevent the sticker from sticking properly and may cause it to peel off over time. Use a mild detergent and warm water to gently wipe the wall's surface using a soft cloth or sponge. Pay close attention to any areas that are particularly dirty or greasy. By ensuring that your wall is clean and free of any contaminants, you create the ideal surface for your wall sticker.
Additionally, if your wall has been recently painted, it's crucial to wait for the paint to fully cure before applying the sticker. This typically takes about two weeks, but it's best to consult the paint manufacturer's instructions for the recommended curing time. Applying a sticker to freshly painted walls can result in the adhesive not adhering properly and may cause damage to the paint.
Let it dry completely before proceeding to the next step. A dry surface is essential for the adhesive to bond effectively, ensuring that your wall sticker stays in place for a long time.
Choosing the Right Wall
It's important to choose a smooth and flat surface for your wall sticker. Textured walls or walls with excessive bumps may reduce the sticker's ability to stick evenly. Before applying the sticker, take a close look at your wall's surface. If you notice any imperfections such as cracks or unevenness, it's recommended to address them before proceeding.
If your walls have a rough texture, it's recommended to smoothen them out before applying the sticker. Sanding the wall lightly can help remove any bumps or rough spots, creating a more suitable surface for the sticker's adherence. Additionally, applying a layer of primer can also help create a smooth and even surface for the sticker to adhere to.
By choosing the right wall and ensuring that it is smooth and clean, you set the stage for a successful application of your wall sticker. Taking the time to properly prepare your wall will not only enhance the sticker's appearance but also prolong its lifespan.
Tools Needed for Wall Sticker Application
Now that your wall is prepped and ready, let's take a look at the tools you'll need for a successful wall sticker application. Some tools are essential, while others are optional but can contribute to a more precise outcome. Here's what you'll need:
Essential Tools for Wall Sticker Application
1. Tape measure or ruler - for precise measurements and alignment.
Before applying a wall sticker, it's crucial to measure the area where you plan to place it. A tape measure or ruler will help you determine the exact dimensions, ensuring that the sticker fits perfectly and looks visually appealing. These tools are especially handy when working with larger wall stickers or creating a symmetrical design.
2. Pencil or removable marker - for marking guidelines on the wall.
To achieve a seamless application, it's essential to mark guidelines on your wall. A pencil or removable marker allows you to outline the area where the sticker will be placed. These guidelines will help you position the sticker accurately and maintain symmetry throughout the application process.
3. Level - to ensure the sticker is applied straight.
A level is a handy tool for ensuring that your wall sticker is applied straight. It helps you avoid any slanted or crooked placements, resulting in a visually pleasing and professional-looking outcome. By using a level, you can easily align the sticker with other elements in the room, such as furniture or architectural features.
4. Scissors - for trimming excess sticker material.
Scissors are a must-have tool when applying wall stickers. After placing the sticker on the wall, you may have excess material that needs to be trimmed. By using scissors, you can precisely cut away any unwanted parts, ensuring a clean and polished appearance.
Optional Tools for Enhanced Precision
1. Squeegee or credit card - for smoothing out the sticker and removing air bubbles.
For a flawless finish, consider using a squeegee or a credit card to smooth out the sticker and remove any air bubbles. These tools allow you to apply even pressure, ensuring that the sticker adheres properly to the wall's surface. By eliminating air bubbles, you can achieve a seamless and professional-looking result.
2. Masking tape - for temporarily securing the sticker in place during application.
If you're working with a large or intricate wall sticker, using masking tape can be beneficial. By temporarily securing the sticker in place with masking tape, you can easily adjust its position before committing to a final application. This tool is particularly useful when working with multiple pieces that need to align perfectly.
3. Hairdryer - to apply gentle heat and help the sticker conform to the wall's surface.
In some cases, using a hairdryer can be advantageous during the wall sticker application process. By applying gentle heat, you can help the sticker conform to the wall's surface more effectively. This technique is especially useful when dealing with textured walls or when you want to ensure maximum adhesion. However, exercise caution and use the lowest heat setting to avoid damaging the sticker or the wall's paint.
Step-by-Step Guide to Pasting Wall Sticker Design
Step 1: Planning Your Design
Before you begin pasting your wall sticker, take some time to plan out the design placement. Consider factors such as spacing, symmetry, and the overall aesthetic you want to achieve. Using a tape measure or ruler, mark the dimensions on the wall to ensure accurate placement.
Step 2: Applying the Wall Sticker
Carefully peel off the backing paper from the wall sticker, starting from one corner. Be sure to handle the sticker gently to avoid any tears or damage. Align the sticker with your marked guidelines and slowly press it onto the wall, starting from the top and working your way down. Use a squeegee or credit card to smooth out any air bubbles or wrinkles as you go.
Step 3: Smoothing Out the Sticker
Once the sticker is in place, go over it with the squeegee or credit card, applying even pressure. This step will help ensure that the sticker adheres firmly to the wall and that no air bubbles or creases remain. Work from the center of the sticker outward, smoothing out any imperfections as you go.
Step 4: Removing the Transfer Tape
After successfully applying the sticker, carefully peel off the transfer tape at a 45-degree angle. Pull the tape slowly and evenly, keeping it close to the wall's surface. This step will reveal your beautifully placed sticker while leaving behind a seamless design.
Troubleshooting Common Issues
While pasting wall stickers is generally a straightforward process, you may encounter a few hurdles along the way. Here are some common issues you may face and their solutions:
Dealing with Bubbles and Wrinkles
If you notice air bubbles or wrinkles after applying the sticker, use a pin or needle to puncture the bubble gently. Then, use the squeegee or credit card to smooth out the affected area. If the problem persists, peel back the sticker slightly and reapply, ensuring to remove any air pockets as you go.
Fixing Misaligned Stickers
If you accidentally misalign the sticker during application, don't panic. Gently lift the corner of the sticker using a sharp object, such as a razor blade, and reposition it as desired. Take care not to damage the wall or the sticker while doing so.
Applying wall stickers can be a fun and creative way to transform your living spaces. By following the step-by-step guide outlined above and using the right tools, you can easily bring your interior décor dreams to life. Remember, practice makes perfect, so don't be afraid to experiment with different designs and styles to find what works best for you. Happy decorating!

