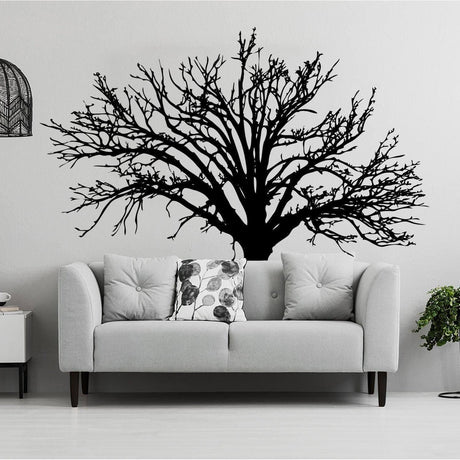
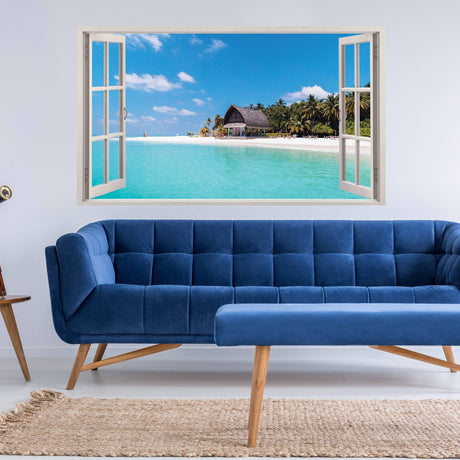
Are you ready to transform your living space with stunning designs that reflect your personality? Wall stickers are a fantastic, easy-to-use option for decor enthusiasts looking to add a touch of creativity to their homes. However, a flawless finish depends heavily on proper wall sticker installation. In this guide, we’ll walk you through everything you need to know—from understanding the various types of wall stickers and preparing your walls, to easy-to-follow installation steps and maintenance tips. Let’s dive in and master the art of wall sticker installation together!
Explore Ideas of Wall Decor
Key Takeaways
- Wall stickers come in various types and materials, and selecting the right one is crucial for successful installation.
- Preparing your wall by cleaning and smoothing the surface is key to achieving a flawless finish during installation.
- Having the right tools, such as a ruler and scraper, can make the wall sticker installation process much easier and more efficient.
- Following a step-by-step guide ensures that you install wall stickers correctly and avoid common pitfalls.
- Proper maintenance and understanding how to remove wall stickers can prolong their lifespan and preserve your wall's condition.
Understanding Wall Stickers: Types and Materials
When it comes to enhancing your home décor with a touch of personality, wall stickers are a fantastic choice. The variety of options available allows decor enthusiasts to express their style beautifully. Understanding wall sticker installation begins with knowing the types and materials these stickers come in. Vinyl wall stickers are among the most popular due to their durability and ease of cleaning. Fabric wall stickers, while softer and easily removable, offer a unique texture that can add depth to your interior. Then there are removable and repositionable wall stickers perfect for renters or anyone wanting to change their decor frequently. For those looking to make a statement, 3D wall stickers can create stunning visual effects that truly transform a space. It's essential to consider the surface and conditions where you plan to apply these stickers; some may adhere better to smooth surfaces, while others can be applied to textured walls. Ultimately, understanding your options will ensure a seamless wall sticker installation, allowing you to breathe new life into your living space.
Preparing Your Wall for Installation
When it comes to wall sticker installation, preparation is key to achieving a smooth and lasting finish. Before you begin, ensure that the wall surface is clean, dry, and free from any dust, grease, or residue. It’s best to wash the area with mild soap and water, then thoroughly dry it to eliminate moisture, as this can interfere with the adhesive. Additionally, if your walls are freshly painted, it’s advisable to wait at least two weeks before applying any stickers, allowing the paint to cure completely. For optimal results, consider applying your wall stickers on a flat, non-textured surface, as this will allow for better adhesion and longevity. Finally, gather all necessary tools such as a level and a squeegee to assist in the installation process. By taking these preparatory steps, you’ll set the stage for a flawless wall sticker application that enhances your decor and reflects your personal style.
'The secret of getting ahead is getting started.' - Mark Twain
Essential Tools for Wall Sticker Installation
When it comes to wall sticker installation, having the right tools on hand can make all the difference in achieving that perfect look in your home. First and foremost, a clean, smooth surface is crucial; therefore, you’ll want to use a mild cleaning solution and a soft cloth to prepare the area. Next, a measuring tape is essential for ensuring your wall stickers are applied precisely and level. A level tool will help you achieve an even alignment, while a credit card or plastic scraper can assist in smoothing any air bubbles as you apply your stickers. Don’t forget to keep a pair of scissors handy for trimming any excess material! Furthermore, using painter’s tape can help with positioning your stickers without commitment, allowing you to visualize how your design will look before finalizing it. With these essential tools, wall sticker installation becomes not just possible but enjoyable, elevating your decor with ease.
Explore Ideas of Wall Decor
Step-by-Step Guide to Installing Wall Stickers
Installing wall stickers can transform your living space by adding personality and creativity to your walls without the permanence of paint or traditional wallpaper. If you're looking to give your home a fresh vibe, follow this step-by-step guide to wall sticker installation. Step 1: Choose Your Wall Sticker - Begin by selecting a design that complements your decor style and vision. Step 2: Prepare the Wall Surface - Clean the wall thoroughly to ensure that dust and oils won’t prevent proper adhesion. It's best to use a mild detergent and a soft cloth. Make sure the wall is completely dry before proceeding. Step 3: Measure and Mark - Measure the area where you want to apply the sticker and lightly mark the edges with a pencil, ensuring it’s straight and properly positioned. Step 4: Peel and Stick - Carefully peel off the backing of the wall sticker, starting from one edge, and slowly apply it to the wall while smoothing out any bubbles. If the sticker isn't positioned perfectly, you can gently peel it off and reposition it. Step 5: Smooth Out the Surface - Use a soft cloth or a credit card to smooth the sticker against the wall, ensuring it's well adhered. Step 6: Final Touches - Once placed, step back and evaluate your work. Make any necessary adjustments. And that's it! Enjoy your beautiful new wall sticker installation!
Common Mistakes to Avoid During Installation
When it comes to wall sticker installation, avoiding common pitfalls can make a significant difference in the final look of your decor. One of the biggest mistakes is not preparing the wall surface properly; this means cleaning it thoroughly and ensuring it's dry, as any dust or moisture can cause the stickers to peel off prematurely. Another error is failing to plan the layout beforehand; grab some painter's tape to mark out where you'd like your stickers to go, which helps visualize the arrangement and avoid last-minute adjustments. Additionally, rushing through the application process can lead to air bubbles or crooked placements; take your time to apply each sticker slowly and press firmly for a smooth finish. Lastly, ignoring the manufacturer's instructions can derail your efforts; always read the guidelines for optimal application and longevity. By steering clear of these common mistakes, your wall sticker installation will not only be easier but also yield professional-looking results that enhance your living space beautifully.
Decorative Wall Decals: Easy, Affordable, and Stylish

