Most kitchens are built around cabinets and appliances, not personality. You get standard tiles, neutral paint, and a backsplash that looks like every other apartment on the street. At the same time, this is the room you enter every day, where you cook, talk, and often work. Kitchen stickers and removable graphics let you change the mood of the room without touching plumbing or asking for a renovation. You work with flat surfaces that you already have and upgrade them with color, pattern, and clear structure.
Flat vinyl is especially useful in kitchens because space is limited and everything has to be easy to clean. Heavy artwork, open shelves, and decorative objects quickly turn into dust and grease collectors. Kitchen wall decals sit directly on tiles, paint, or cabinets. They wipe down with the same cloth you use for the rest of the room. You get visual impact without extra objects on the countertop, which matters in compact US apartments and in smaller European kitchens in Estonia and Germany.
How can kitchen wall decals change the look of your kitchen without renovation?
Kitchen wall decals change how you read the room. Instead of seeing a broken line of cabinets and appliances, you see a few clear surfaces that frame the main working areas. A graphic strip along the backsplash can visually tie together stove, sink, and countertop. A calm pattern on a side wall can turn a leftover piece of wall into a small dining corner. You do not move walls or change furniture, but the layout feels more intentional.
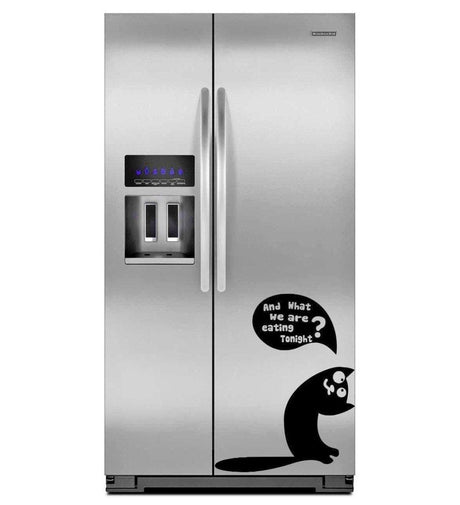
Most people underestimate how much empty vertical surface their kitchen has. The area between upper cabinets and countertop, the side of a fridge, the wall next to the dining table, and even the space around switches and sockets can hold subtle kitchen decals. If you choose a limited palette and repeat shapes, the room stops looking like a set of separate elements and starts feeling like one shaped space.
This is especially helpful in rentals and older homes. You might have outdated tiles, mismatched cabinets, or uneven paint. Stickers for kitchen walls can cover visual noise without blocking ventilation or power outlets. A well placed kitchen decal can distract from a dated backsplash or visually connect upper cabinets with lower ones in a way paint alone cannot.
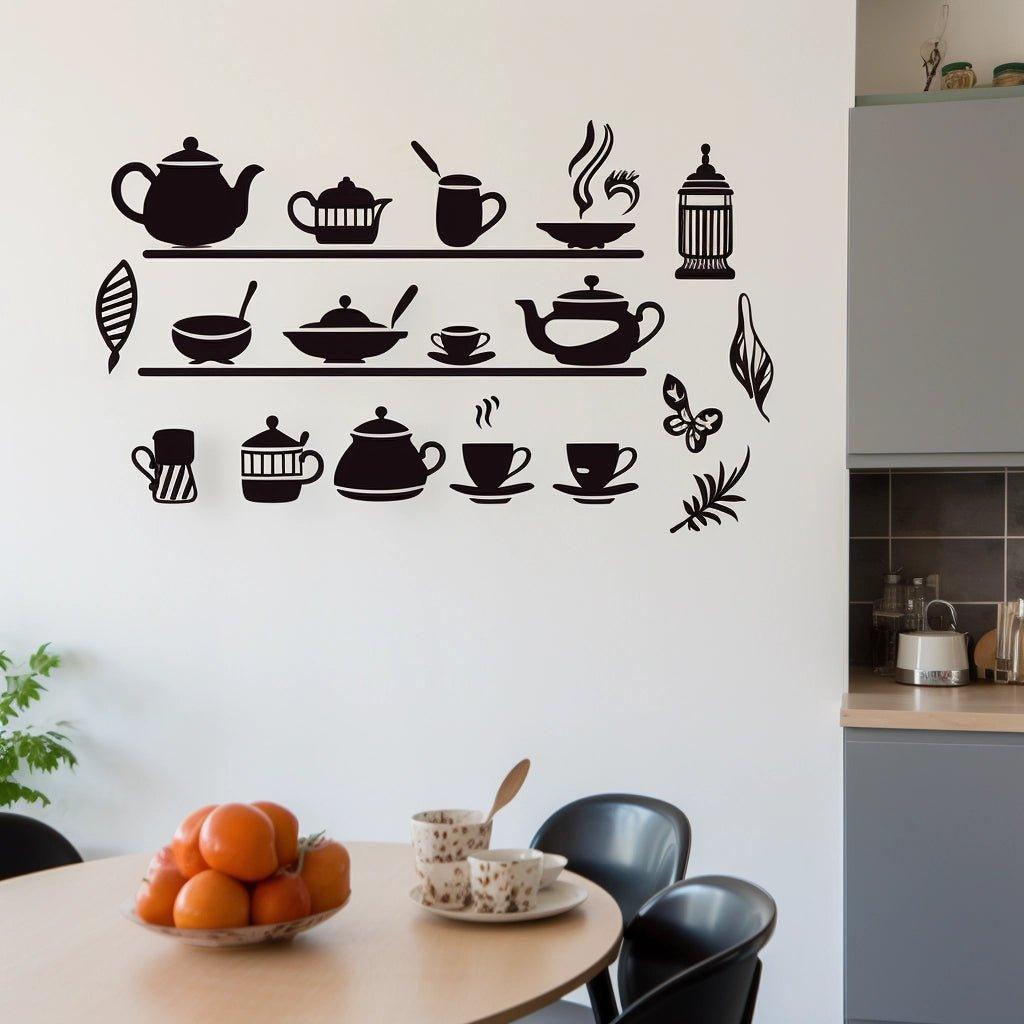
Good kitchen decorations wall layouts focus on active zones. Behind the stove and sink you can add designs that can handle frequent cleaning. Around the dining area you can use softer graphics that are more about mood than function. The result is a kitchen that feels updated and personal, even if the cabinets and tiles are still the original ones.
What areas work best for peel and stick wall decals for kitchen walls?
Peel and stick wall decals for kitchen spaces work best on smooth, reachable surfaces that you already clean regularly. The classic zone is the backsplash between countertop and upper cabinets. This is where your eyes land every time you cook or wash dishes, and where a pattern can make the biggest difference. Removable decals can sit directly on existing tiles or on painted walls, as long as the surface is dry and non-greasy.
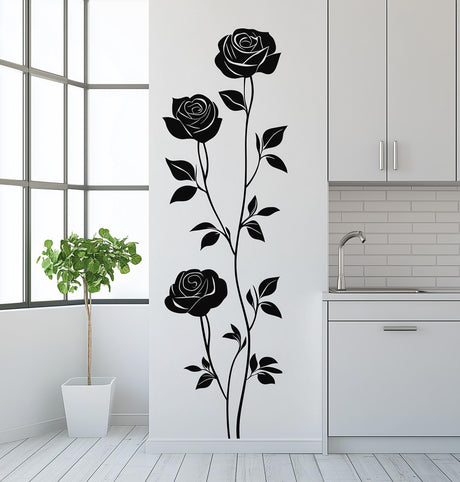
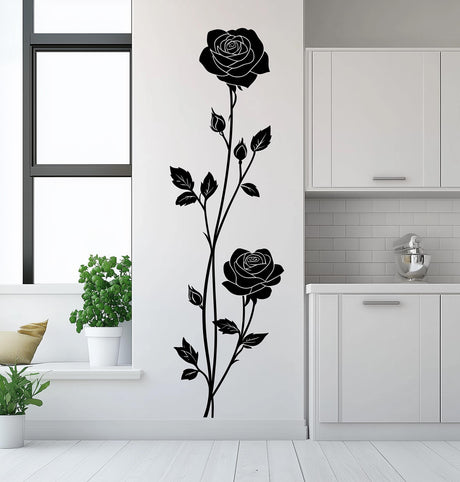
Other strong positions for wall decals for kitchen layouts include the side walls near the dining nook, the wall at the end of a galley kitchen, and the vertical side of a tall cabinet that faces the room. These surfaces often stay blank because they are too narrow for art but too visible to ignore. A vertical band of graphics or a cluster of small shapes can pull the whole room together.
You can think of the kitchen in layers:
- functional backsplash zone between countertop and cabinets
- side walls near the table or bar counter
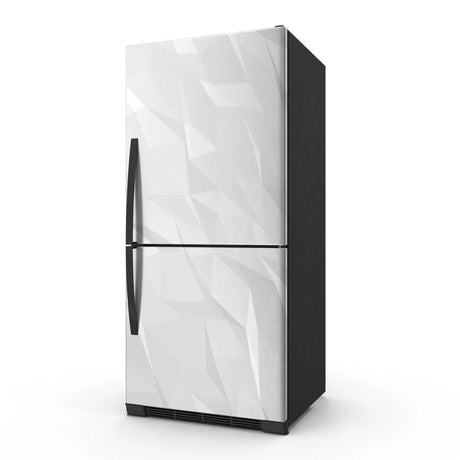
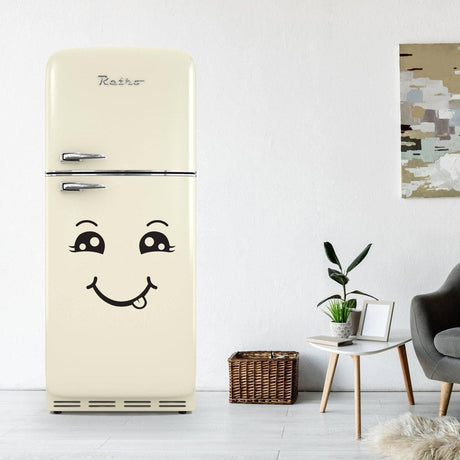
- tall appliance sides (fridge, tall cabinet panels)
- small fields around switches, hooks, or open shelves
Each layer needs a slightly different treatment. The backsplash needs kitchen stickers that are easy to wipe and resistant to splashes. Side walls can handle softer textures or illustrations. Appliance sides are perfect for playful or seasonal elements that you might want to change more often. Small fields near hooks or rails can use micro decals that highlight where items belong.
Avoid placing decals on surfaces that get direct, constant heat such as the area directly behind gas burners without a protective panel, or very close to open flames. In European homes with gas boilers or exposed radiators in the kitchen, keep graphics at a reasonable distance. You want vinyl to sit where it will be seen and cleaned, not where it will be overheated.
When you choose areas with care, even a few well placed kitchen decals can define the entire room. You do not need to cover every centimeter. A couple of strong surfaces, treated consistently, usually work better than many small unrelated pieces.
How to choose kitchen stickers by material, cleaning routine, and cooking style?
Choosing kitchen stickers is not only about design. The material and finish must match how you actually use the room. A kitchen where you mainly reheat food has different demands than a kitchen used daily for frying, baking, and preserving. When you understand your cooking style, it becomes easier to pick stickers for kitchen walls that will still look good after months of steam and wiping.
For heavy everyday cooking, prioritize thicker vinyl with a smooth, sealed surface. These kitchen wall decals wipe clean easily and resist splashes of oil and sauce. A matte finish hides fingerprints and small streaks better than a very glossy one, especially under strong under-cabinet lighting. If you often cook with open pots or fry without a lid, select designs with enough contrast so small stains do not become the main visual feature between cleanings.
In lighter use kitchens, such as city apartments where most meals come from delivery or simple reheating, you can choose more delicate patterns and lighter colors. Here, kitchen decorations wall elements play more of an aesthetic role. They can be softer, more detailed, and more focused on mood than on hiding wear.
A simple checklist helps when you evaluate options:
- is the decal rated as washable or scrubbable
- how does it behave with mild detergent and a soft sponge
- can it be applied to tiles, painted walls, or both
- how resistant is the adhesive to steam and temperature changes
For families, consider how the decals will look at child height. If you have young children touching the backsplash or lower wall often, place more robust designs in those zones and keep more delicate graphics higher up. In rental kitchens in the US, Estonia, and Germany, always confirm that the adhesive is removable and test a small area before covering a large surface. This protects you from surprises when it is time to move out.
When you match kitchen stickers to your real cleaning habits and cooking intensity, they become a practical part of the room, not just a temporary decoration.
How to install and remove kitchen decals safely on tiles, paint, and cabinets?
Installing kitchen decals is straightforward, but the quality of preparation decides how they will look after a few months of cooking. Tiles and painted walls in kitchens collect invisible layers of grease and dust even when the room looks clean. If you put vinyl directly on that film, edges may lift and cleaning will become more difficult.
Start by washing the area with a mild degreaser or dish soap diluted in warm water. Rinse with a clean damp cloth and let the surface dry completely. Focus on the backsplash and the area behind the stove, where grease tends to accumulate. Do not rush this step. Adhesive needs a clean, dry base to grip properly.
Before you commit to a full layout, cut a small test piece from your kitchen decal set and apply it in a discreet spot. Leave it for a few days through normal cooking and cleaning. If it still holds well and peels without pulling paint or leaving residue, you can move on to the main installation.
A practical workflow looks like this:
- clean and dry the surface thoroughly
- test a small sample decal in an unseen area
- plan the layout and mark horizontal lines with painter’s tape
- apply larger pieces first, starting from the center
- smooth bubbles outward with a soft cloth or squeegee
Cabinet surfaces follow similar rules. They must be clean, dry, and stable. On laminate fronts, most kitchen decals adhere well. On real wood with open pores or heavy texture, adhesion may be weaker, so simpler shapes and smaller pieces work better.
Removal should also be planned. When you want to change wall decals for kitchen areas, warm them gently with a hair dryer at low power, then peel slowly at a shallow angle. On solid tiles, adhesive usually comes off cleanly. On painted walls, the result depends on the state of the paint and how long the decals have been in place. If any glue traces remain, use a soft cloth and a gentle cleaner rather than sharp tools.
When you follow this routine, peel and stick wall decals for kitchen surfaces can be a long term but reversible upgrade. You get the benefit of a custom backsplash or feature wall without committing to new tiles or a paint job.
Which design styles of kitchen decals work for rentals, family homes, and small European kitchens?
Different homes call for different visual strategies. A rental kitchen, a busy family kitchen, and a compact European kitchen with limited light all place different limits on color, pattern, and scale. The same set of kitchen stickers will look and behave differently in each environment, so it makes sense to choose with these contexts in mind.
In rentals, neutral but characterful designs work best. Choose wall decals for kitchen layouts that can quietly support both your taste and a future tenant’s taste, in case you decide to leave them in place. Simple geometric patterns, subtle text related to cooking, or stylized herbs and ingredients are safer choices than aggressive color combinations. Always lean toward removable kitchen decals and avoid covering damaged or unstable paint that might come off with the vinyl.
In family homes, practicality becomes primary. The room has to cope with rush hours, snacks, spills, and small hands. Here, stronger patterns along the backsplash can help disguise minor stains between cleanings. You can also use stickers for kitchen organization: labels on cabinet doors, small icons near frequently used drawers, or visual frames around utensil rails. The design supports habits and helps children navigate the room safely.
Small European kitchens in Estonia and Germany often combine limited space with strong architectural elements like deep window sills or radiators. In such rooms, busy patterns on every free surface can quickly overwhelm. Instead, choose one or two key zones: perhaps the backsplash and the wall next to the table. Use kitchen decorations wall elements that stretch the room visually, such as horizontal patterns in very narrow spaces or vertical elements in low rooms.
Whatever your setting, try to connect the kitchen decal choice with the rest of the home. Colors from the living room can reappear in small doses in the kitchen, and motifs from other wall decor can echo above the countertop. This gives you a sense of continuity instead of making the kitchen feel like a separate box.
When style, scale, and function align, kitchen stickers become part of how the room works, not just a seasonal accessory. They protect surfaces, clarify zones, and let you shape the mood of one of the most used rooms in the house.
How to Add Personality to Your Kitchen with Minimalist Decals in this article, in more detail.
Read less


 Sale
Sale